Looking for some new creative ways to spend time with your kids? Incorporate the magic of crafting into your home and watch their eyes light up .
One simple way to enjoy crafting is with tissue art craft ideas. Creative DIY Kleenex® tissue paper crafts are budget-friendly as well as a fun way to brighten up any room. Below, we’re sharing some ways to help you get started!
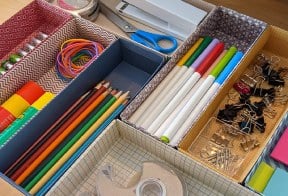
Materials Needed for Paper Arts and Crafts
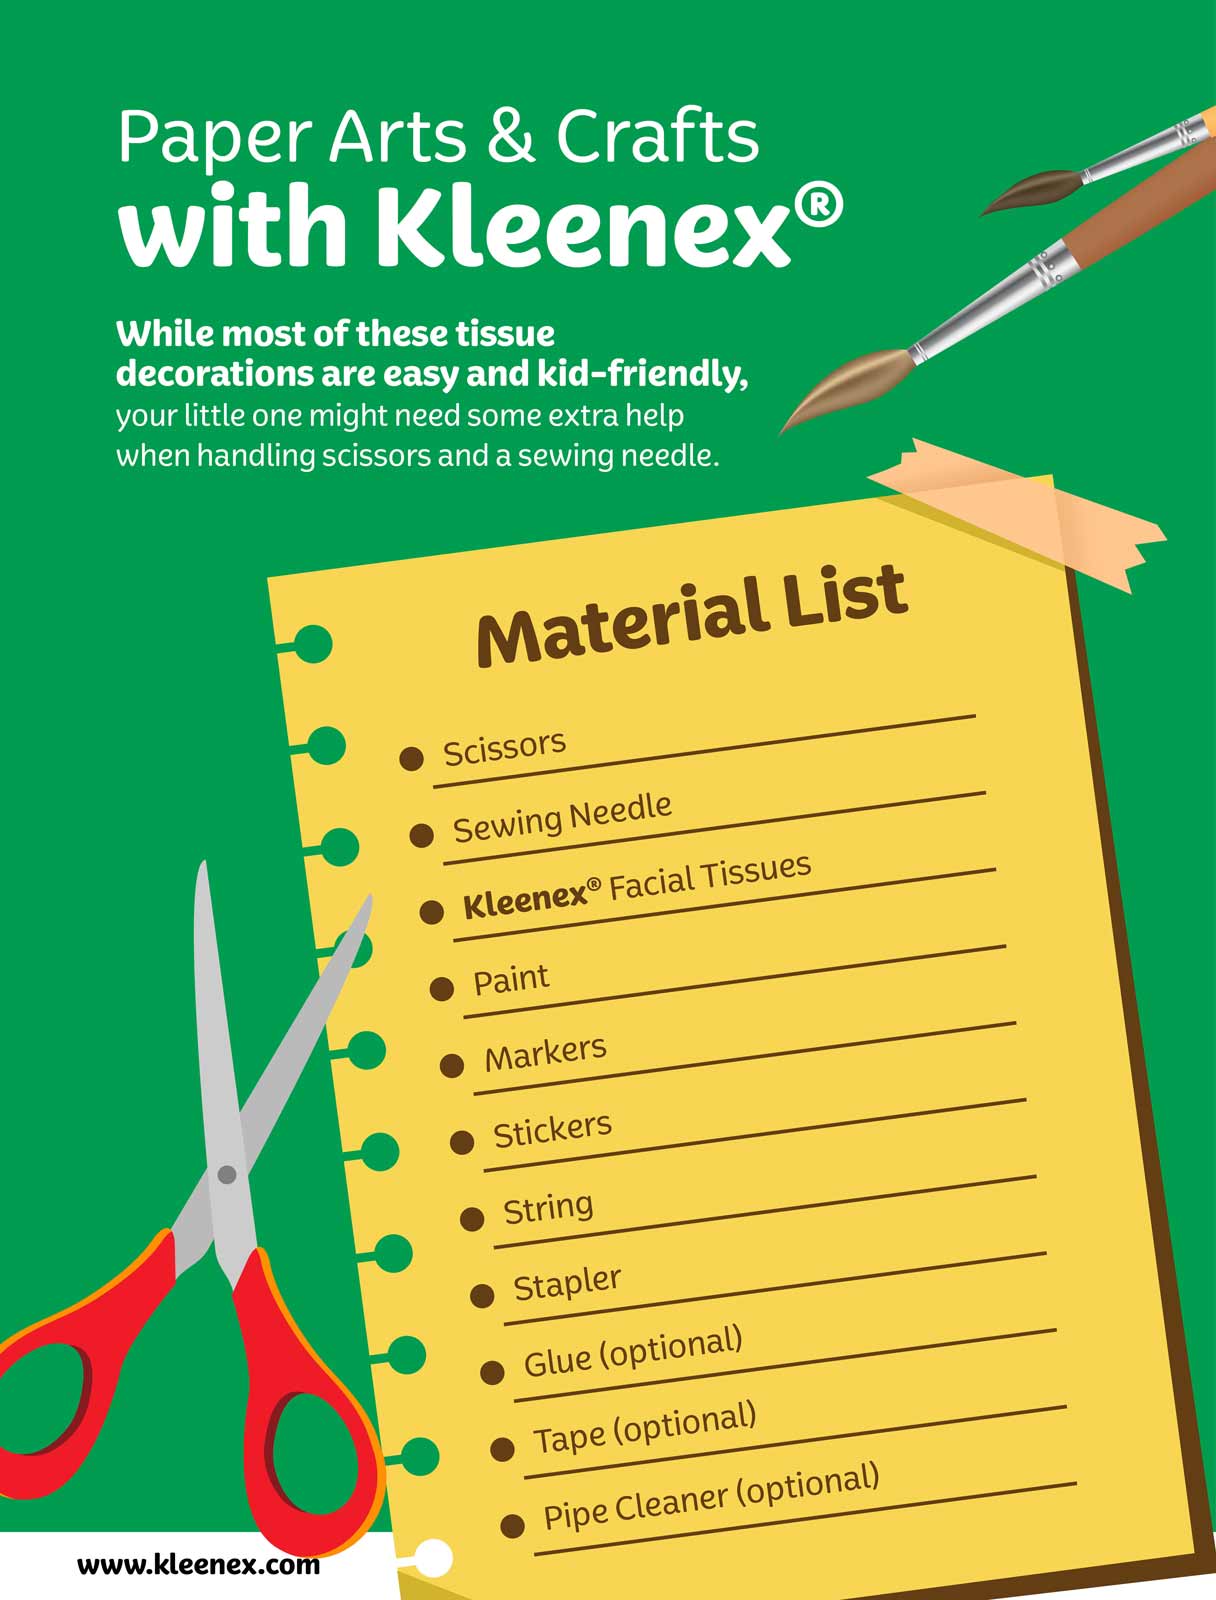
To start creating easy DIY crafts, you’ll need some simple supplies. Most of these can be found at home. If not, a quick trip to your local supermarket or art supply store will have you covered. While most of these tissue decorations are easy and kid-friendly, your little one might need some extra help when handling scissors and a sewing needle.
• Scissors
• Sewing Needle
• Kleenex® Ultra Soft™ Facial Tissues
• Paint
• Markers
• Stickers
• String
• Stapler
• Glue (optional)
• Tape (optional)
• Pipe Cleaner (optional)
With these supplies, you’ll be able to create and color personalized tissue paper crafts to match every mood and season. You’ll also be able to hang them up and create the perfect display.
Tissue Garlands
How to Make Ruffle Garlands
Step 1
Cut a few tissues – lengthwise – down the middle. As a rule of thumb, use more tissues the longer you’d like the garland to be.Step 2
Fold one strip of tissue paper onto the needle at a time. Start by folding one end onto the needle and then the other to create a ruffle effect. Keep adding the other strips of tissue onto the needle in the same way, gently pushing them down the length of the thread.Step 3
To secure the garland, thread the needle and knot the thread at each end. Again, the amount of thread you use will depend on how long you want the garland to be.Step 4
Once you’ve filled the length of your thread, knot the top end and fluff up the tissue, leading to a ruffle garland! Repeat these steps to make two or three strings of garland.Once you’re done, decorate your tissue garland by coloring the edges with a marker.
How to Make a Tassel Garland
Step 1
If you’d like to decorate your tissue paper tassel garland, unfold your tissue and use your favorite paint, markers, or stickers to decorate the open halves.Step 2
Once you’re done, fold your tissue together. Then, cut one-inch strips into your tissue, leaving a one to two-inch border at the top seam of the tissue.Pro tip: Make the process even faster by stacking multiple tissues and cutting them together. You want to be gentle during this stage to avoid ripping.
Step 3
Unfold your tissue, then tightly roll it up into a tube-like shape. Once it's rolled, twist the tubes of your tissue garland to make a loop at the top. It could also be helpful to secure your loop with some glue or tape. Thread your string through this hole and you’ve got your first tassel garland!Repeat these steps to make the rest of your garland. String them up to make a fun and simple wall decoration.
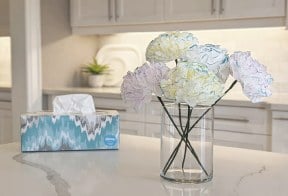
How to Make Paper Pompoms
Step 1
These pompoms are another tissue art decoration that would be best to decorate beforehand. Once you get folding, it can be difficult to decorate them. Add your chosen colors or paint your favorite designs on them. Make them extra festive by adding seasonal decorations.Step 2
Place multiple layers of your Kleenex® Ultra Soft™ Facial tissue down with the shorter side facing your body. To make bigger pompoms you’ll need to use more layers.Fold one-inch strips in an accordion effect. To achieve your accordion, you’ll fold a one-inch strip, then fold it back on itself. Keep doing this until you’ve folded the entire tissue stack.
Step 3
Staple the middle of your accordion to hold it together.Step 4
Now that your accordion is secure, cut a rounded edge at each end of your tissue stack. Gently unfold your accordion, separating the layers into a fan, then gently fluff the middle to separate your petals. Repeat these steps to make as many pompoms as you like.Bonus tip: To make a pompom curtain, glue them to a string that you can hang in your window or a doorway. Additionally, to make a cute flower arrangement, tie your accordion together in the center with a pipe cleaner instead of stapling it, leaving enough of the cleaner to act as a stem.
Paper Fan Decoration
Step 1
If you’d like to decorate your entire fan, then do so before you begin folding. However, you can also leave the decorating for the end and only color the edges of the fan.Step 2
Fold one-inch strips in the same accordion-style that you used in step two to make the pompoms.Step 3
Once you’ve established the accordion shape, fold it in half pinching at the bottom. For extra security, place a dot of glue in the center before you fold it.Now that your fan is secure, gently unfold the accordion layers into a fan. This is the perfect time to decorate the edges of your fan with either paint or a marker and make it your own.
Discover Family Fun Activities with Kleenex®
Discover even more family arts and crafts activities at Kleenex®.